Abogen:用 Kokoro-82M 把 EPUB/PDF/文本转成带同步字幕的有声书
Abogen 是一个基于 Kokoro-82M 的文本转语音工具,可将 ePub、PDF、纯文本、Markdown 或字幕文件(SRT/ASS/VTT)快速转换为高质量音频并生成时间轴同步的字幕,适用于有声书、Instagram/YouTube/TikTok 配音等场景。项目提供 PyQt6 桌面 GUI(abogen)与 Flask Web UI(abogen-web)两种界面,支持章节拆分、M4B 章节与元数据、自定义语音混合、批处理队列、LLM 文本规范化与 Audiobookshelf 推送,可安装到 Windows、macOS、Linux 或用 Docker 部署。
社区作者 · zZz
它解决什么问题
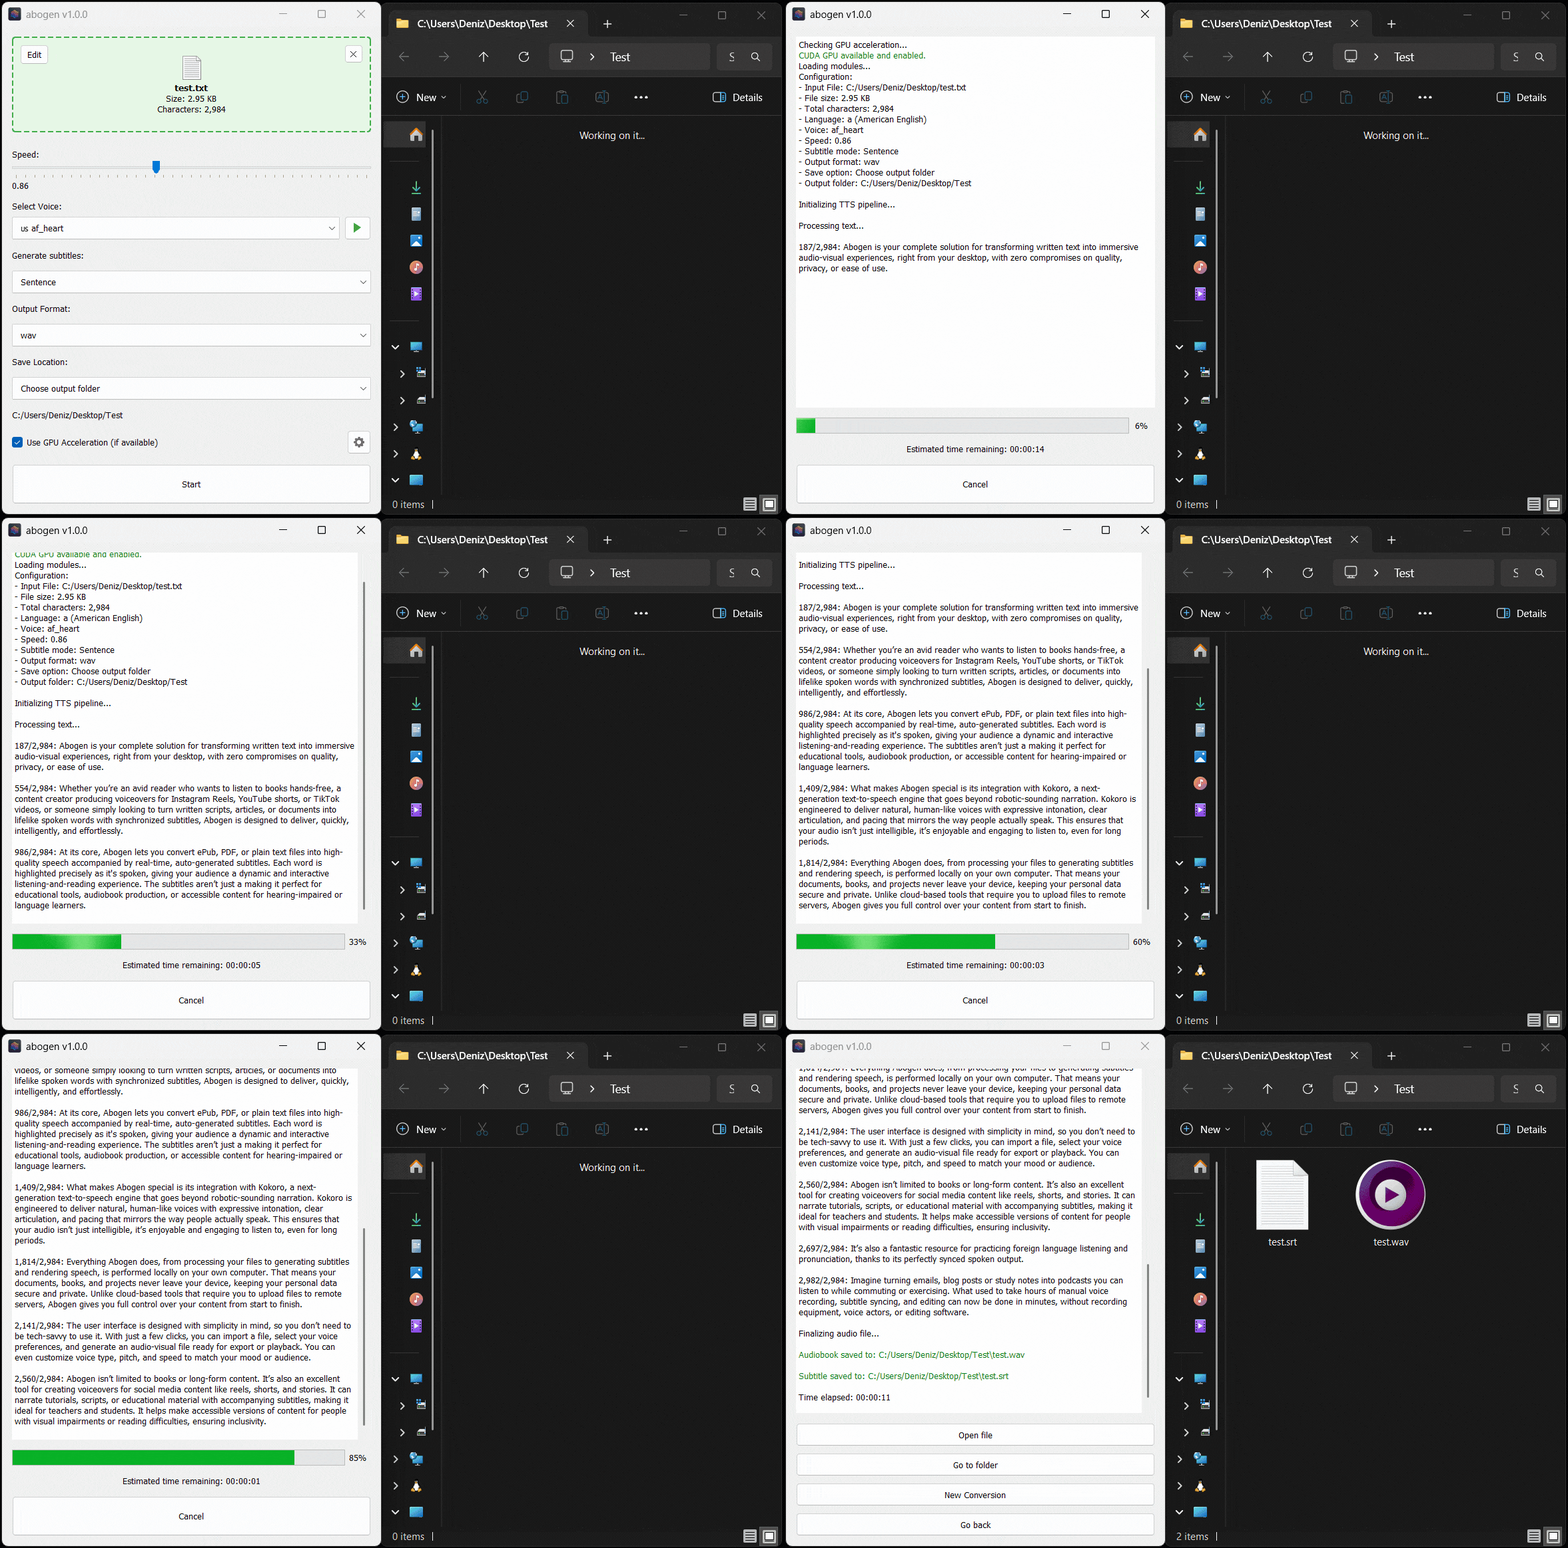
Abogen(名称来自 audiobook generator 的缩写)是一个独立的文本转语音转换工具,目标是把 ePub、PDF、文本、Markdown 或字幕文件在数秒内转成高质量音频并配上匹配字幕,底层使用 Kokoro-82M 模型。官方演示显示:约 5 秒即可生成约 1 分钟音频,且字幕完全同步;作者在低端 RTX 2060 Mobile 笔记本 GPU 上处理约 3,000 字符耗时 11 秒,输出 3 分 28 秒音频。
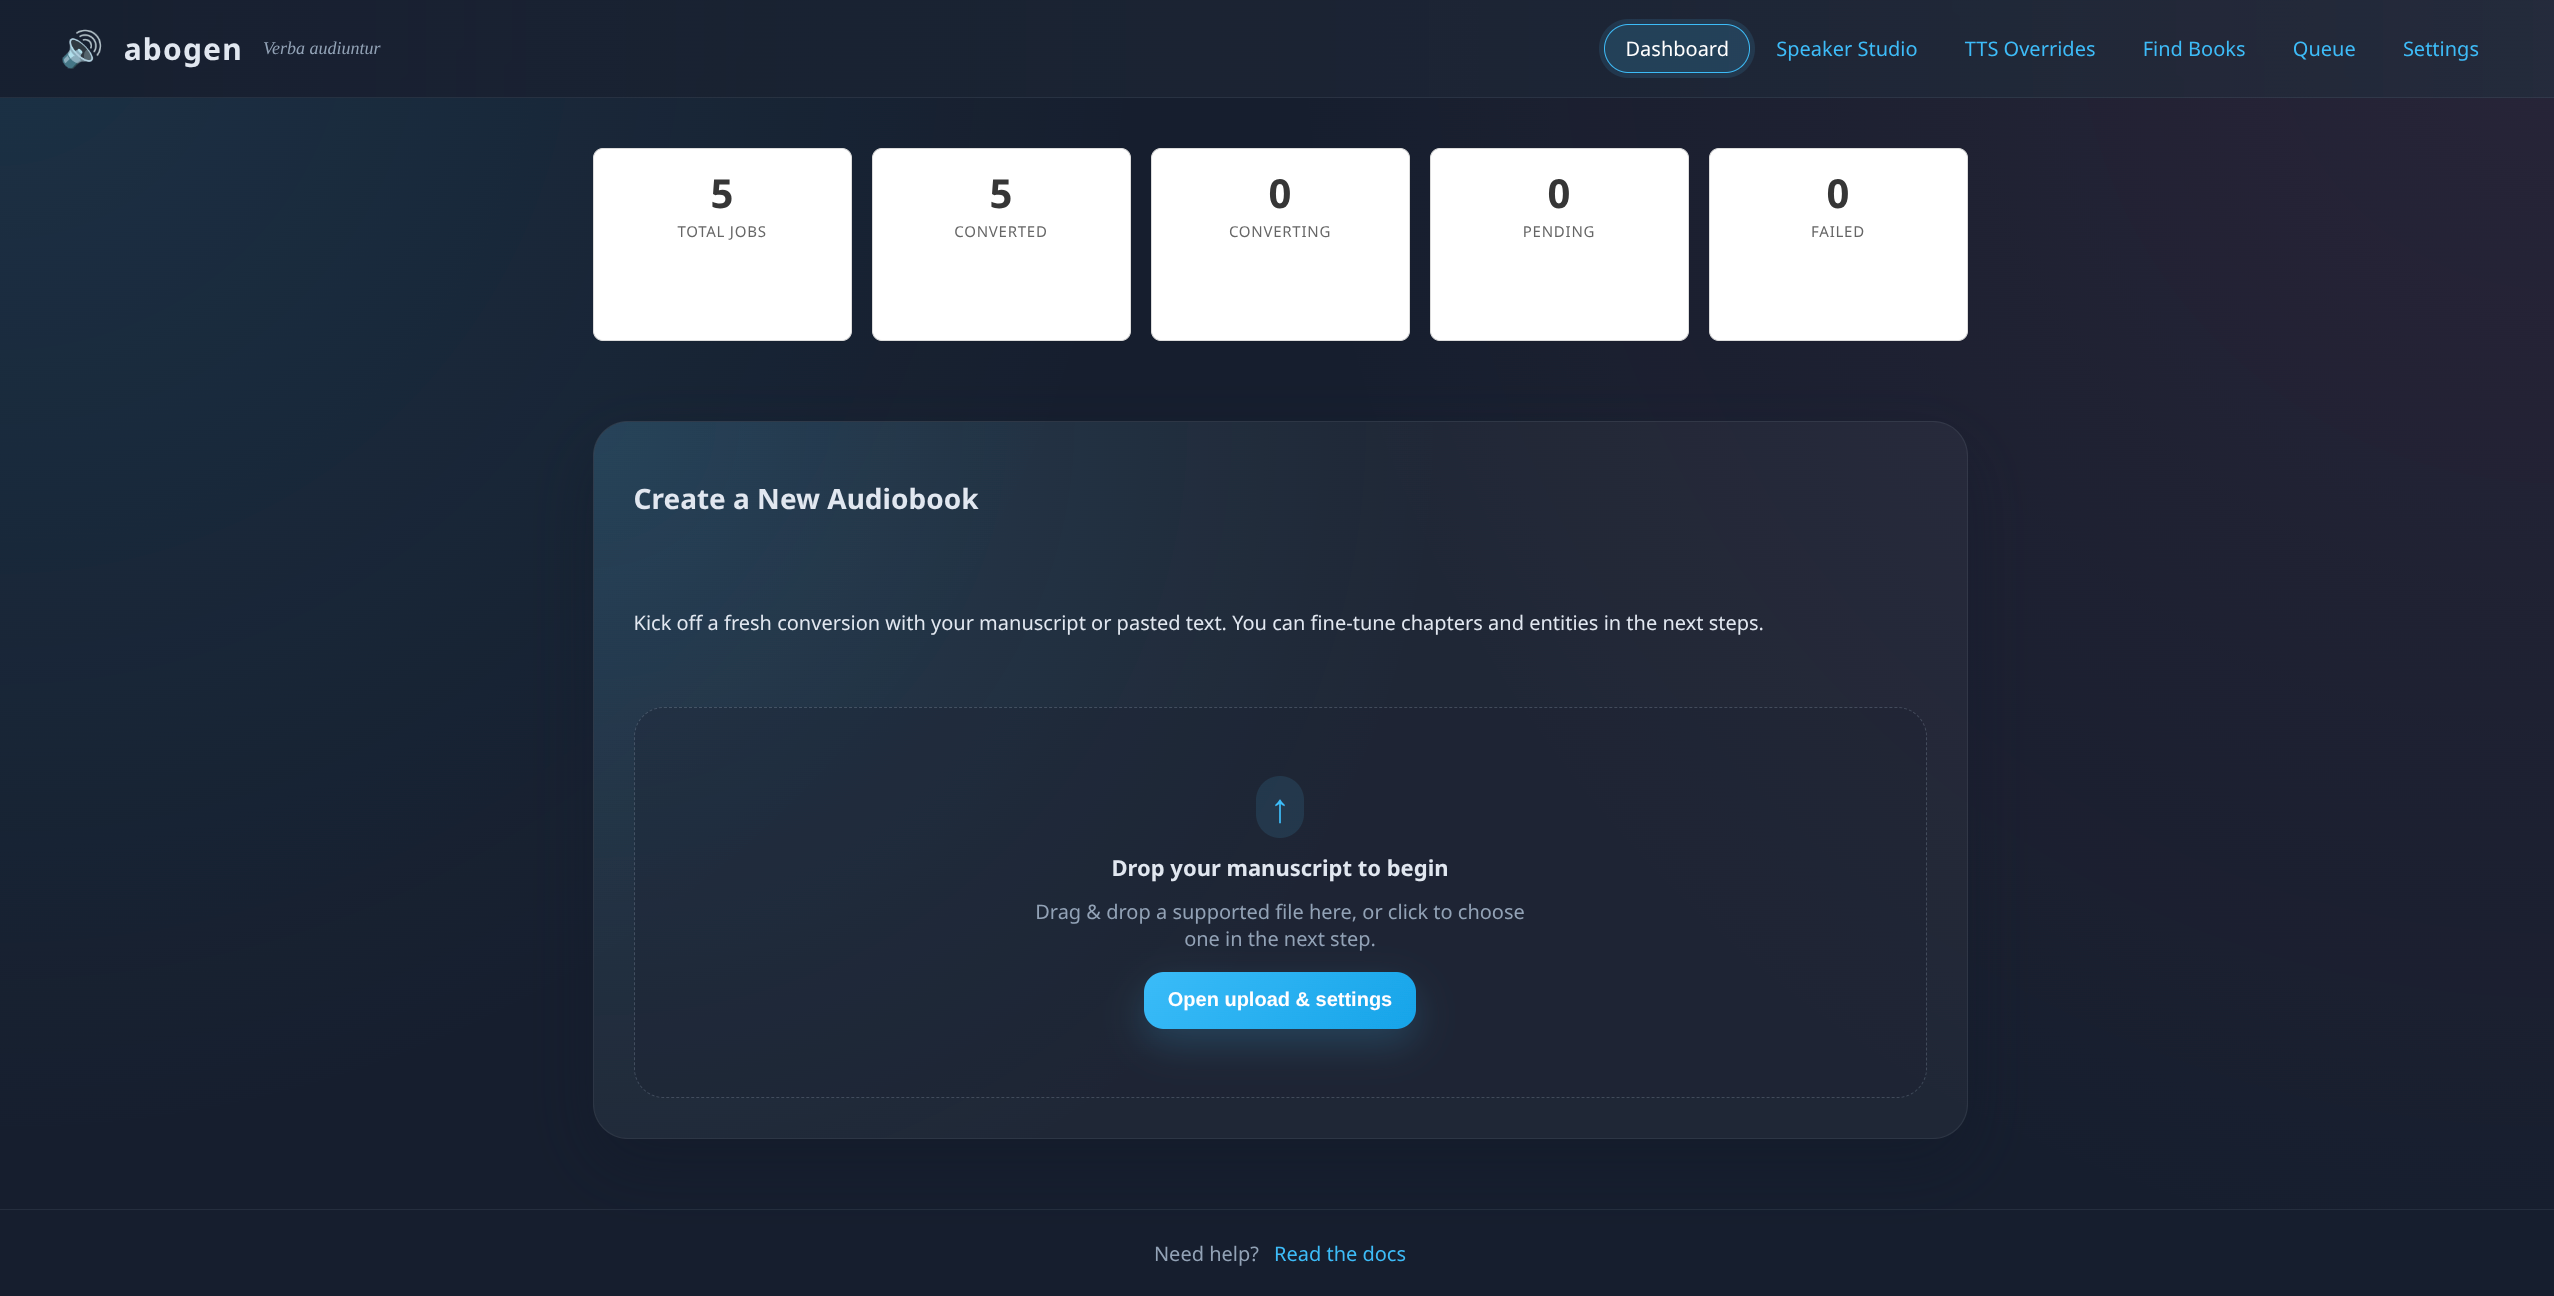
【界面与功能差异】项目提供两种界面:abogen 为 PyQt6 桌面 GUI,提供稳定核心功能;abogen-web 为 Flask Web UI,包含核心功能外加 Supertonic TTS、LLM Normalization、Audiobookshelf 集成等更多新特性。Web UI 处于积极开发中,是目前功能最丰富的形态(贡献者 @jeremiahsb 贡献了超过 55,000 行代码)。
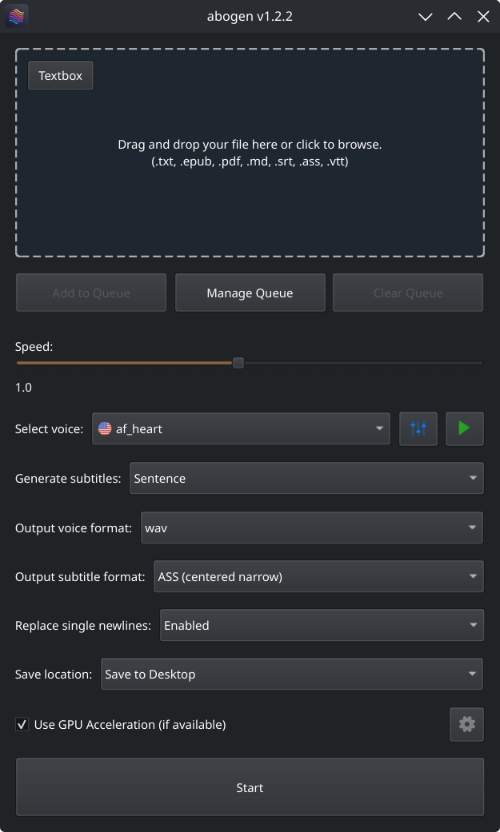
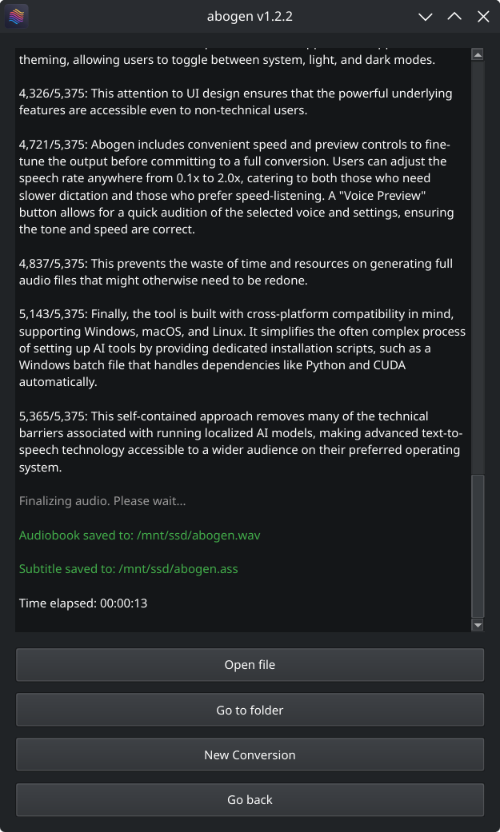
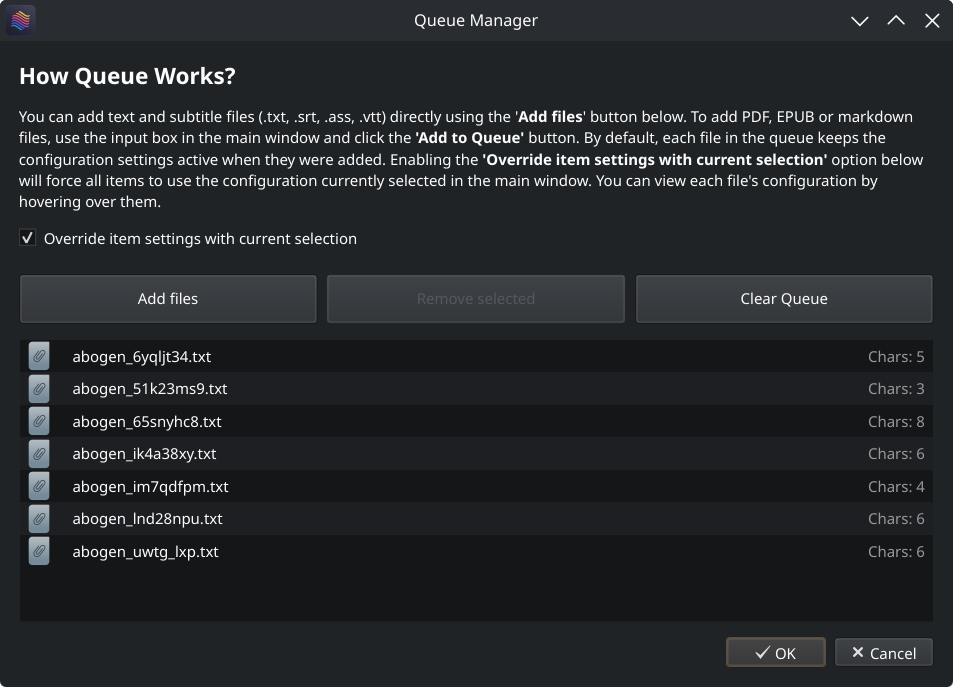
配图 2、配图 3 为桌面端界面截图,配图 4 为操作演示动图,配图 7 为 Web UI 界面,配图 8 为章节标记示意,配图 9 为 Star History 图表。
【桌面端使用流程】拖入 ePub、PDF、text、markdown 或字幕文件(也可用内置文本编辑器);配置语速、音色(或用语音混合器自定义音色)、字幕生成样式、输出格式与保存位置;点击 Start 开始。主要配置项包括:输入框支持 ePub、PDF、.TXT、.MD、.SRT、.ASS、.VTT;队列选项可批量处理多个文件并为每个文件单独设置;Speed 语速 0.1x–2.
0x;Select Voice 音色命名规则为语言代码首字母 + m/f 性别字母(如 a 为美式英语、b 为英式英语);Voice Mixer 通过 profile 系统混合不同音色模型创建自定义音色;Voice preview 可试听;Generate subtitles 支持 Disabled、Line、Sentence、Sentence + Comma、Sentence + Highlighting、1 word、2 words、3 words 等;输出音频格式支持 .WAV、.FLAC、.MP3、.
OPUS(压缩最佳)和带章节的 M4B;输出字幕格式支持 SRT(standard)、ASS(wide/narrow/centered wide/centered narrow);还有“Replace single newlines with spaces”、保存位置(输入文件旁、桌面或自选目录)等。
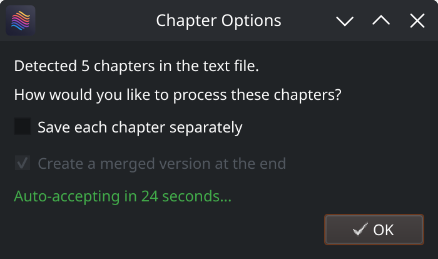
【书籍处理与菜单选项】章节控制可从 ePub/Markdown 选章节、从 PDF 选章节与页码;可“每章单独保存”“创建合并版本”“保存到带元数据的项目文件夹”。
菜单可切换 System/Light/Dark 主题,配置每条字幕最大词数、章节间静音时长、日志窗口最大行数、单独章节音频格式(wav/flac/mp3/opus),创建桌面快捷方式,打开配置目录、缓存目录,清除缓存,启用“字幕间使用静音间隙”(避免为贴合字幕时间轴而加速语音),“字幕速度调整方法”可选 TTS Regeneration(质量更好)或 FFmpeg Time-stretch(速度更快),可选“使用 spaCy 进行句子切分”(避免把 Mr.、Dr.
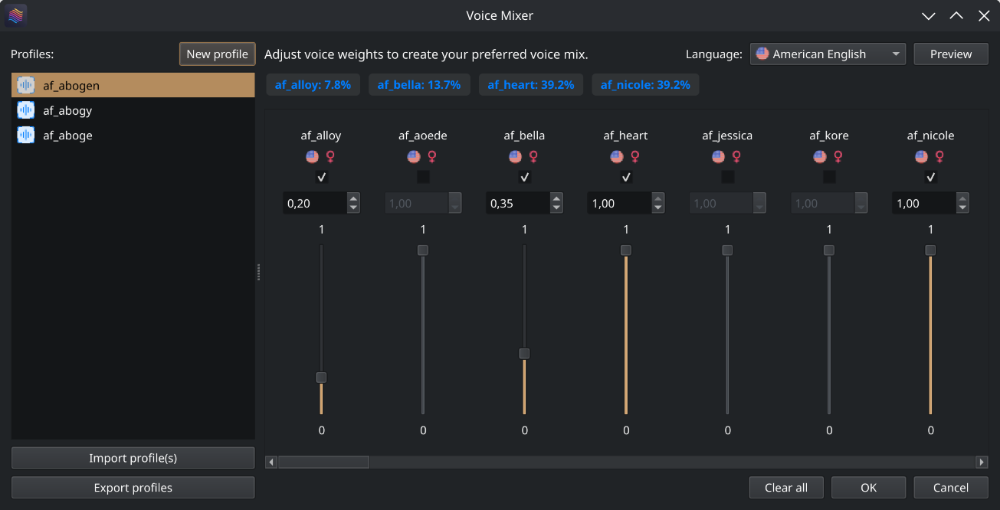
误切;spaCy 仅在 Sentence 或 Sentence + Comma 字幕模式下使用;非英语文本在生成音频前切句,英语文本在生成字幕时切句);可“预下载模型与音色”实现完全离线使用,可“禁用 Kokoro 的互联网访问”阻止从 HuggingFace Hub 下载,可“启动时检查更新”,可“重置为默认设置”。配图 5 为语音混合器界面,配图 6 为队列管理界面。
【语音混合器与队列模式】语音混合器通过混合不同音色模型创建自定义音色,可调整各音色权重并保存为 profile 复用。队列模式支持批量转换:.txt 与 .srt/.ass/.vtt 可直接用 Add files 按钮或拖拽加入队列;PDF、EPUB、Markdown 需在主窗口输入框中选择后点击 Add to Queue。队列中每个文件保留加入时的配置,之后修改主窗口配置不影响已入队文件;可开启“Override item settings with current selection”强制统一使用当前配置;悬停可查看每个文件的配置。
【Web UI 使用与容器】运行 abogen-web 后访问 http://localhost:8808,拖入文档即可:上传文档 → 选择音色、语言、语速、字幕样式与输出格式 → 点击 Create job → 在队列中查看实时进度与日志 → 完成后下载音频/字幕,可随时取消或删除任务并下载日志排错;多个任务由 worker 顺序执行。容器部署:
docker build -t abogen .;
mkdir -p ~/abogen-data/uploads ~/abogen-data/outputs;
docker run --rm -p 8808:8808 -v ~/abogen-data:/data --name abogen abogen;上传源文件存于 /data/uploads,生成的音频/字幕出现在 /data/outputs。容器环境变量包括 ABOGEN_HOST(默认 0.0.0.0)、ABOGEN_PORT(8808)、ABOGEN_DEBUG(false)、ABOGEN_UPLOAD_ROOT(/data/uploads)、ABOGEN_OUTPUT_ROOT、ABOGEN_OUTPUT_DIR(/data/outputs)、ABOGEN_SETTINGS_DIR(/config)、ABOGEN_TEMP_DIR、ABOGEN_UID/ABOGEN_GID(1000)、ABOGEN_LLM_BASE_URL、ABOGEN_LLM_API_KEY、ABOGEN_LLM_MODEL、ABOGEN_LLM_TIMEOUT(30)、ABOGEN_LLM_CONTEXT_MODE(sentence,可选 sentence/paragraph/document)、ABOGEN_LLM_PROMPT。可用 id -u / id -g 查询本机 UID/GID 以匹配容器内文件权限。仓库自带 docker-compose.yaml 默认面向 GPU,需先安装 NVIDIA Container Toolkit,运行 docker compose up -d --build;可用 TORCH_VERSION、TORCH_INDEX_URL 控制构建,ABOGEN_DATA 指定数据目录(默认 ./data)。纯 CPU 部署需注释 compose 文件中的 deploy.resources.reservations.devices 块和可选的 runtime: nvidia 行;也可用 CLI:
docker build -f abogen/Dockerfile -t abogen-gpu . 后 docker run --rm --gpus all -p 8808:8808 -v ~/abogen-data:/data abogen-gpu。
【LLM 辅助规范化与 Audiobookshelf 集成】Abogen 可把棘手的撇号和缩写交给 OpenAI 兼容的大模型处理:在 Settings → LLM 填入端点 Base URL(如 Ollama 用 http://localhost:11434,程序会自动追加 /v1/.)与可选 API Key,点击 Refresh models 加载模型列表并选择默认模型,调整超时与提示词模板,用预览框测试后可保存;Normalization 面板还能用当前配置合成短音频预览。
Docker/CI 场景可用 ABOGEN_LLM_* 变量预填表单(.env.example 提供本地 Ollama 示例)。Audiobookshelf 集成需在 Settings → Integrations → Audiobookshelf 填写 Base URL(HTTPS 源地址,可带路径前缀,不要加 /api)、Library ID、Folder(名称或 ID,可 Browse folders 获取)、在 ABS 的
— 本文由 AI 根据公开来源辅助整理,命令、版本与许可证请在使用前到原始页面复核。
安装 / 开始使用
How to install? Windows
Go to espeak-ng latest release download and run the *.msi file.OPTION 1: Install using script
This method handles everything automatically - installing all dependencies including CUDA in a self-contained environment without requiring a separate Python installation. (You still need to install espeak-ng .
) Note You don't need to install Python separately. The script will install Python automatically. OPTION 2: Install using uv First, install uv if you haven't already.
- Download the repository
- Extract the ZIP file
- Run WINDOWS_INSTALL.bat by double-clicking it
For NVIDIA GPUs (CUDA 12.8) - Recommended
uv tool install --python 3.12 abogen[cuda] --extra-index-url https://download.pytorch.org/whl/cu128 --index-strategy unsafe-best-matchFor NVIDIA GPUs (CUDA 12.6) - Older drivers
uv tool install --python 3.12 abogen[cuda126] --extra-index-url https://download.pytorch.org/whl/cu126 --index-strategy unsafe-best-matchFor NVIDIA GPUs (CUDA 13.0) - Newer drivers
uv tool install --python 3.12 abogen[cuda130] --extra-index-url https://download.pytorch.org/whl/cu130 --index-strategy unsafe-best-matchFor AMD GPUs or without GPU - If you have AMD GPU, you need to use Linux for GPU acceleration, because ROCm is not available on Windows.
uv tool install --python 3.12 abogenAlternative: Install using pip (click to expand)
Create a virtual environment (optional)
mkdir abogen && cd abogenpython -m venv venvvenv \S cripts \a ctivate
For NVIDIA GPUs:
We need to use an older version of PyTorch (2.8.0) until this issue is fixed: https://github.com/pytorch/pytorch/issues/166628
pip install torch==2.8.0+cu128 torchvision==0.23.0+cu128 torchaudio==2.8.0 --index-url https://download.pytorch.org/whl/cu128For AMD GPUs:
Not supported yet, because ROCm is not available on Windows. Use Linux if you have AMD GPU.
Install abogen
pip install abogenMac First, install uv if you haven't already.
Install espeak-ng
brew install espeak-ngFor Silicon Mac (M1, M2 etc.)
uv tool install --python 3.13 abogen --with " kokoro @ git+https://github.com/hexgrad/kokoro.git,numpy<2 "For Intel Mac
uv tool install --python 3.12 abogen --with " kokoro @ git+https://github.com/hexgrad/kokoro.git,numpy<2 "Alternative: Install using pip (click to expand)
Install espeak-ng
brew install espeak-ngCreate a virtual environment (recommended)
mkdir abogen && cd abogenpython3 -m venv venvsource venv/bin/activate
Install abogen
pip3 install abogenFor Silicon Mac (M1, M2 etc.)
After installing abogen, we need to install Kokoro's development version which includes MPS support.
pip3 install git+https://github.com/hexgrad/kokoro.gitLinux First, install uv if you haven't already.
Install espeak-ng
sudo apt install espeak-ng # Ubuntu/Debian sudo pacman -S espeak-ng # Arch Linux sudo dnf install espeak-ng # Fedora
For NVIDIA GPUs or without GPU - No need to include [cuda] in here.
uv tool install --python 3.12 abogenFor AMD GPUs (ROCm 6.4)
uv tool install --python 3.12 abogen[rocm] --extra-index-url https://download.pytorch.org/whl/nightly/rocm6.4 --index-strategy unsafe-best-matchAlternative: Install using pip (click to expand)
Install espeak-ng
sudo apt install espeak-ng # Ubuntu/Debian sudo pacman -S espeak-ng # Arch Linux sudo dnf install espeak-ng # Fedora
Create a virtual environment (recommended)
mkdir abogen && cd abogenpython3 -m venv venvsource venv/bin/activate
Install abogen
pip3 install abogenFor NVIDIA GPUs:
Already supported, no need to install CUDA separately.
For AMD GPUs:
After installing abogen, we need to uninstall the existing torch package
pip3 uninstall torchpip3 install --pre torch torchvision torchaudio --index-url https://download.pytorch.org/whl/nightly/rocm6.4See How to fix "CUDA GPU is not available. Using CPU" warning? See How to fix "WARNING: The script abogen-cli is installed in '/home/username/.local/bin' which is not on PATH" error in Linux? See How to fix "No matching distribution found" error?
See How to fix "[WinError 1114] A dynamic link library (DLL) initialization routine failed" error? Special thanks to @hg000125 for his contribution in #23 . AMD GPU support is possible thanks to his work.
Interfaces Abogen offers two interfaces , but currently they have different feature sets. The Web UI contains newer features that are still being integrated into the desktop application. Command Interface Features abogen